1. Work in Sections
To avoid potential site failure, it is important for the contractor to work systematically in small sections. This approach ensures proper completion of each section before moving on to the next phase of installation.
2. Wet the Base of Flagstones and Tiles
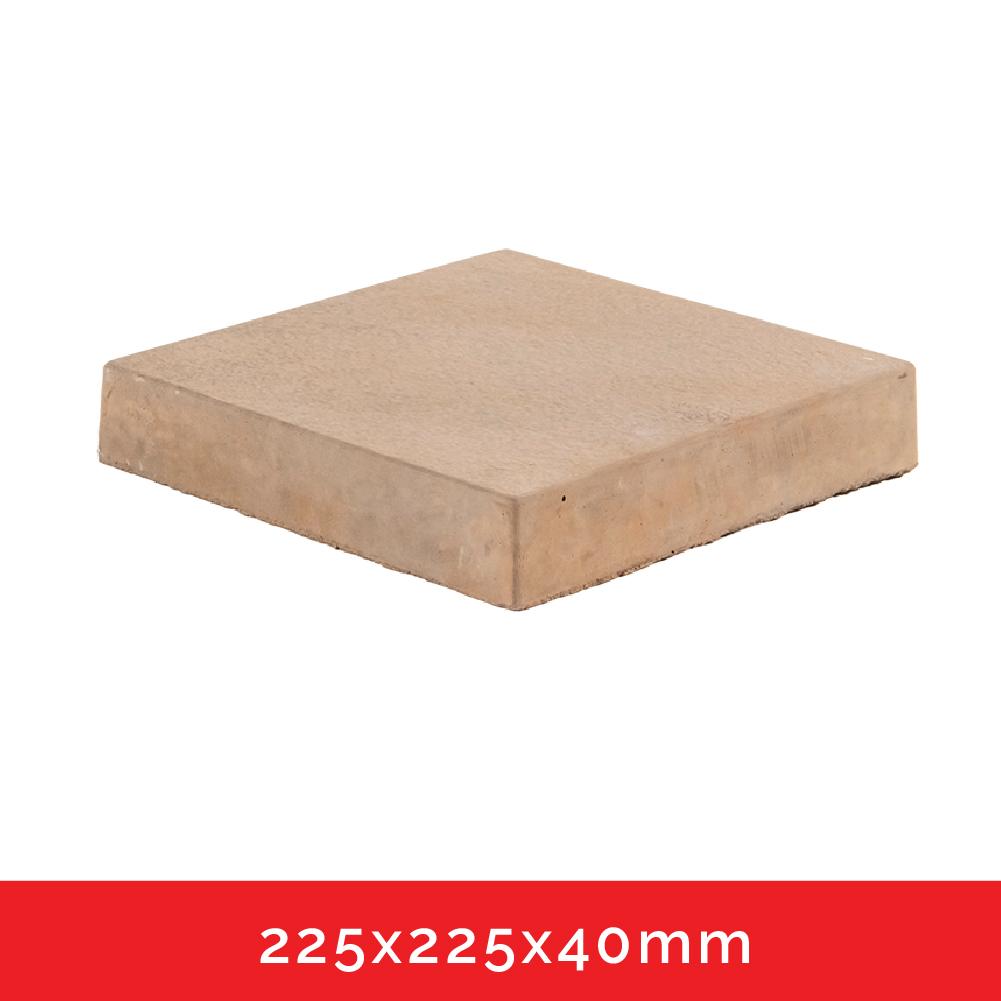
Before seating flagstones and tiles, ensure their base is adequately wet. This prevents dry pavers from absorbing moisture from the bedding material too quickly.
3. Opt for Approved Grouting
When grouting Capestone cobbles and flagstones, it is recommended to use approved grouting. Cement grouting should be avoided due to the likelihood of staining. Make sure your contractor or supplier gives you the correct grouting, they should know which products or alternatives you should use.
Insufficient Jointing Material
If the jointing material has become displaced or eroded, apply an additional layer of jointing sand by sweeping it across the paved surface to refill the joints. In cases where grouting consistently washes out from the joints, it is recommended to utilise a stabilised jointing material.
4. Choose the Right Paving Material
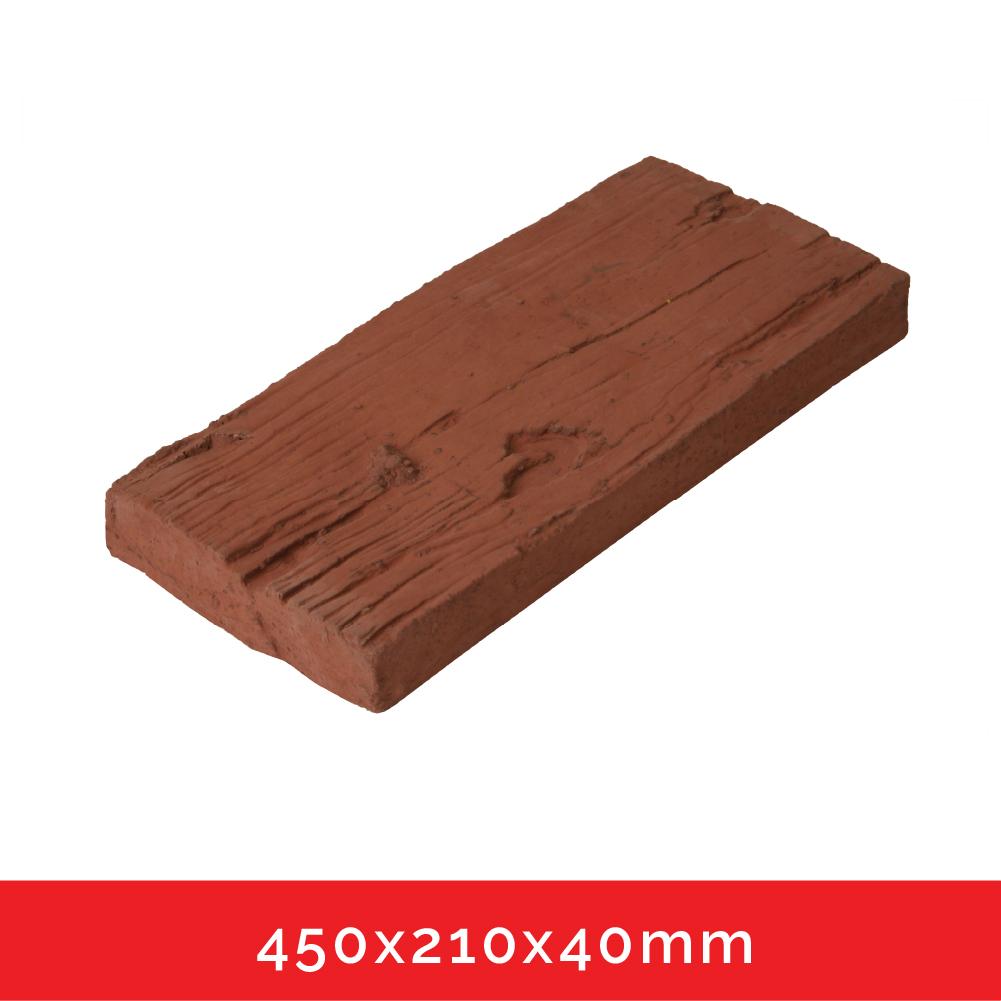
Selecting the appropriate paving material depends on various factors, including application, size, thickness, and texture. Consider these factors carefully to make practical decisions that align with your project’s requirements.
5. Allow Sufficient Time for Curing
After installation, refrain from driving on a new Capestone driveway for seven days and walking on any Capestone paving for five days. Premature traffic can adversely affect the grouting and compromise the structural integrity of the paved area. Additionally, allow six months of curing before considering sealing the paving.
6. Explore Laying Patterns
Prior to installation, take the time to determine the laying patterns that best suit your project. Discuss with the installer the lines, directions, and aesthetic appeal of the desired laying patterns.
7. Skip the Plastic Sheeting
We advise against the use of plastic sheeting as a layer beneath the paving installation.
8. Promptly Wash Off Grout and Cement
To prevent cement staining on the pavers, ensure that grouting and cement are washed off immediately after application. Use a hand sponge for this purpose, avoiding the use of brooms or similar tools.
9. Compacted Sub-Base
Ensure the sub-base beneath the paving is thoroughly compacted. We recommend using a mechanical roller, such as a Bomag 90, rather than relying solely on a plate compactor.
10. Consider Levels and Water Run-Off
It’s crucial to inquire about the contractor’s plans for drainage and how they will accommodate levels and
water run-off. Understanding these aspects will help you avoid potential issues down the line.


